This article is a little how-to about making pictures look ‘aged’ without needing to use Photoshop. First the end-result: here is an example image, part of an InDesign page. Below, I’ll explain how I did this without needing Photoshop, and without duplicating or altering the original color picture.
First of all, you need to install some plugins, more precisely: Color2Gray and APID ToolAssistant – which are available for download from this web site. We have versions for InDesign CS5, CS4… all the way down to InDesign CS. Click here for more info and download links.
Color2Gray allows you to display and print color pictures in pure black-and-white through a standard color-to-grayscale color conversion. The resulting image is a proper conversion, and renders on the black (K) plate only. APID ToolAssistant is free, and Color2Gray is almost free (we charge a small amount of money for it – US$19). You can try it out for free for about a month, so you don’t need to pay anything if you simply want to follow along and try this out.
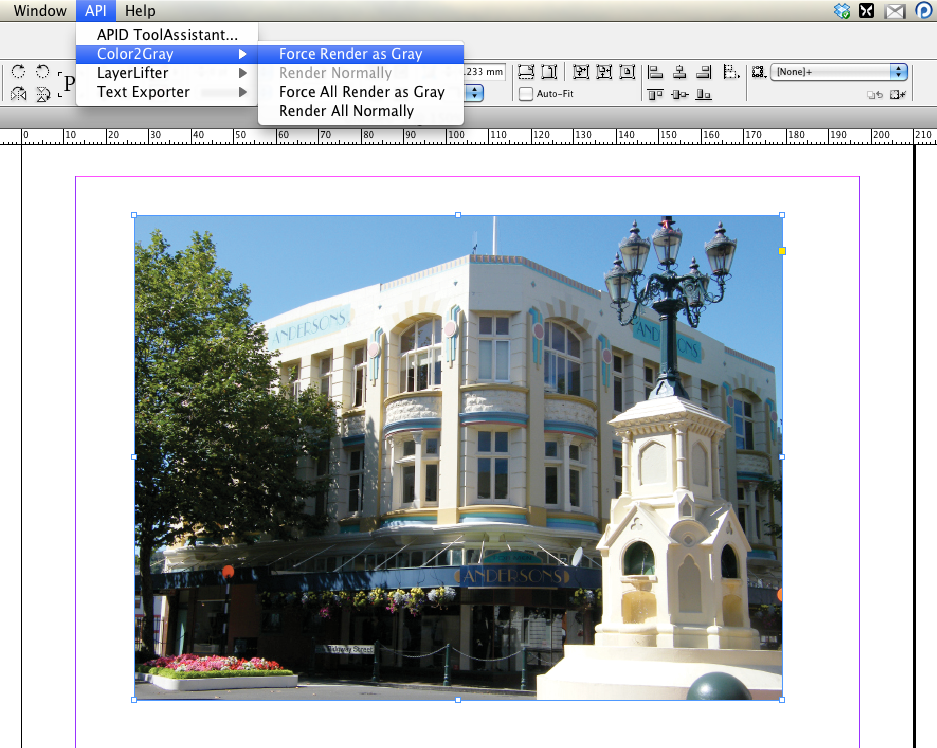
Once you have the plug-ins installed, you can create a document and place a JPEG image in it – here’s a screen capture of my picture of a building dating from 1913, located in Wanganui, New Zealand. This is the original picture, right after I placed it onto my InDesign page.
Select the picture frame, and while it is selected, use the API – Color2Gray – Force Render as Gray menu item.
 The result becomes grayscale. Keep in mind – the original image file has not been altered! Color2Gray only influences how InDesign outputs the image pixels on the screen and onto the printed result, while keeping the original image file untouched. If you’d do a CMYK output preview you would find that now only the black plate carries the image.
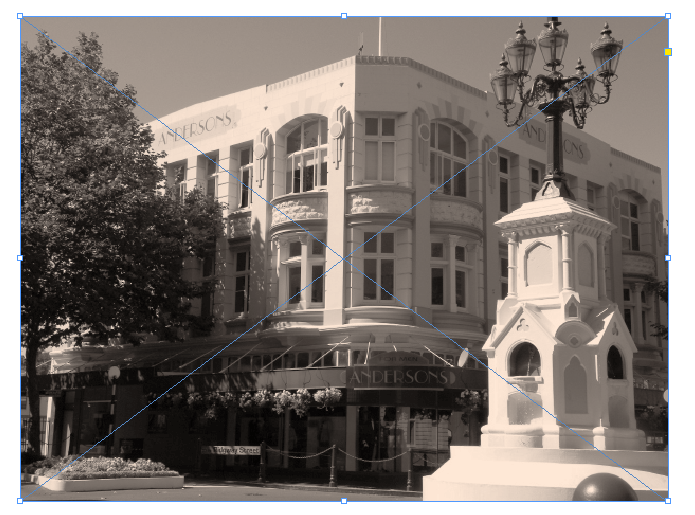
Next, we neatly cover the image with a frame that’s filled with a light sepia color. The colored frame should be made to fit exactly over the image.
(Disclosure: I think that color looks like a light sepia, but it might not be – I am slightly color-blind, so please forgive me if it’s more of a reddish green or a greenish red: I wouldn’t be able to tell the difference. Good thing I decided to be a software developer instead of a graphics designer, eh?)
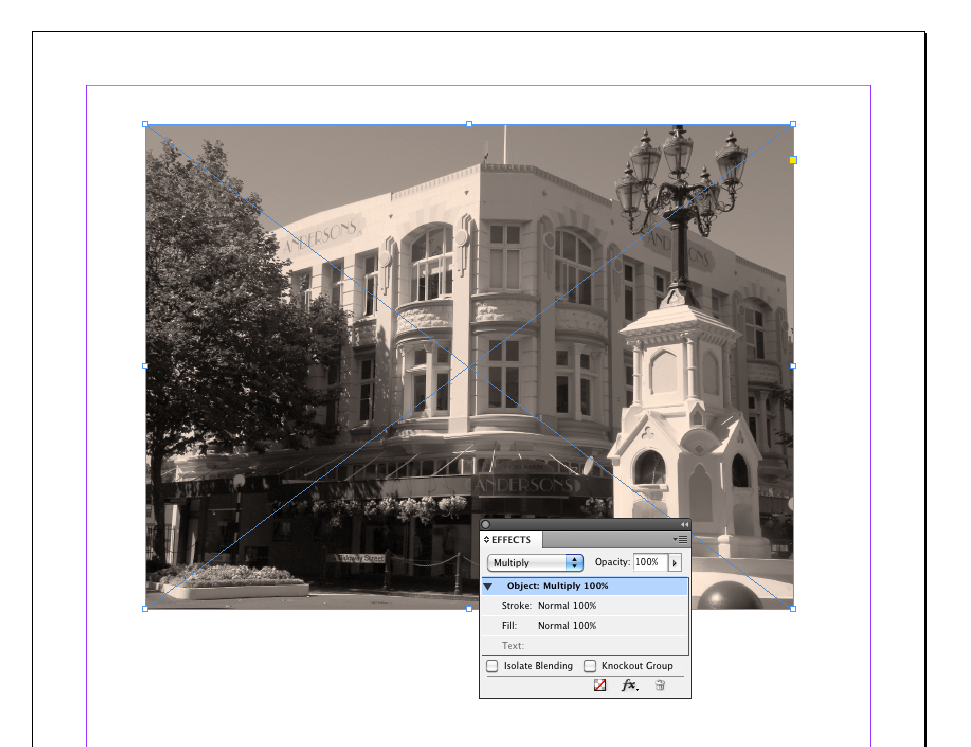
Now the magic: with the colored rectangle selected, bring up the InDesign Effects palette and multiply the colored rectangle with whatever lies underneath.
Tadaa: instant ‘old’ picture:
Is that cool or what?


