Lightning Brain FrameReporter is a US$29.00 plug-in for Adobe InDesign CS, CS2, CS3 or CS4.
In this recipe, we’ll highlight each of the individual LB FrameReporter tidbits, and explain what they could be useful for.
If you want to follow along, you might want to first download and install a demo version of Lightning Brain FrameReporter – click here for more info and download links.
Overset text warning
InDesign is quite laid back when it comes to text that is overset. The only visual indication you get is that the last text frame of the story shows a red plus sign in the out port.
Enter LB FrameReporter. For stories with overset text it will add a visual indicator to any frame of the story – whether that frame is at the beginning or at the end of the text story.
That’s very handy if you’re trying to fix overset text by removing some words from the text: you can be editing frame 1 of a 100-frame story, and you’d immediately know that the overset has been fixed when the indicator disappears.
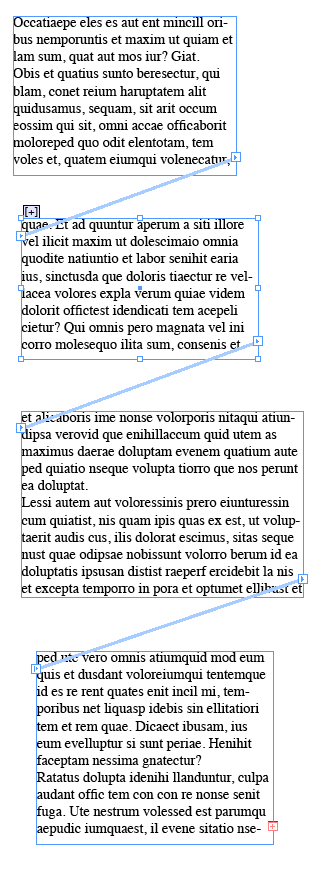
An example: imagine that the four text frames you see are actually spread out over four pages (instead of sitting on a single page – I’ve done that to make it easier to explain things).
There’s overset text, and I am going to clean up the text in the second frame of the four-frame story.
I selected the second text frame. The little [+] on top of that selected text frame indicates that the story has overset text:
I now select some words that I want to delete from the frame:
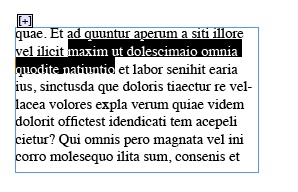
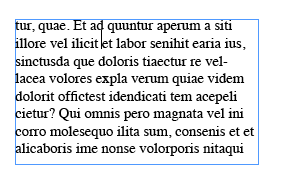
Hit ‘Delete’ to shorten the text – and the overset warning disappears. No need to go check the last frame of the story!
 Show Frame and Story Wordcounts
This option of LB FrameReporter is handy when you’re aiming for a particular word count. As you’re editing the story, you are continuously informed about the total number of words in the story, as well as the number of words in the current text frame.
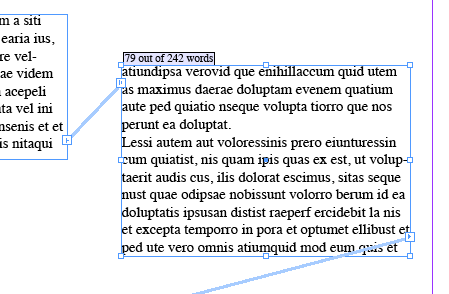
In the sample screen capture, I have 79 words in the current frame, out of a total of 242 words in the whole story.
These word counts are dynamic. As we all know ;-^ , ‘nseque’ is preferrably spelled as two words, so let’s split up ‘nseque’ into ‘nse que’ by adding a space character:
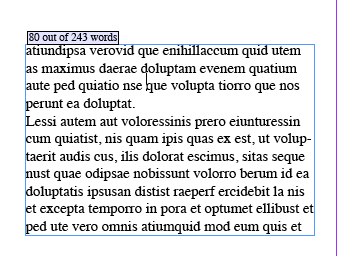 Note that the word counts have automatically updated to 80 and 243!
Show Number of Frames Per Story
With this option, it becomes easy to know your position along a story – it helps you navigate the story.
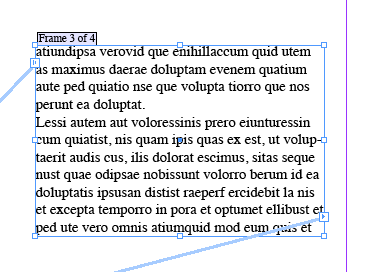 In this example, the complete story runs through four frames, and the currently selected frame is the third of these four.
Show Which Pages Contain Parts Of A Story
This is a slightly more complex information – it is essentially a roadmap for the current story. Check the following screen shot:
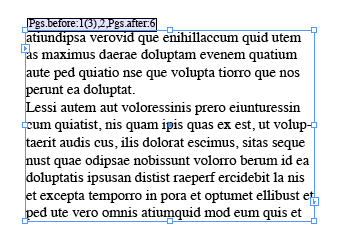
I can tell that the currently selected frame is part of a multi-frame story.
Let’s first ignore the (3), the number between parenthesis; we’ll get to that later.
Before passing through the current selected frame, the story appears in text frames that live on page 1 and 2 (Pgs. before: 1,2)
After passing through the selected frame, the story appears in a text frame on page 6 (Pgs. after: 6).
Furthermore, on page 1, I can also see that the story goes through three text frames – 1(3) means: on page 1 occurring 3 times. That’s what numbers between parenthesis are about: they show you when there are multiple linked text frames for the same story on a single page.
As you can see, this LB FrameReporter option allows me to see a whole roadmap for the story in the blink of an eye!
Overridden Master Page Items
Another thing that’s hard to see in InDesign are overridden master page items.
Master page items showing through on a document’s pages are easily recognizable because their frame is drawn with a dotted line.
But once a master page item is overridden, there is no simple way to tell that the item is a master page item. Still, overridden master page items behave slightly different to normal page items.
Check the following screen shot:
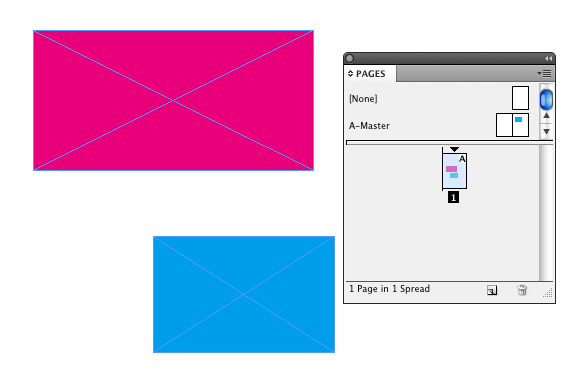
The bottommost, cyan page item is an overridden version of the cyan item on master A. I’ve repositioned it to make it clear it’s overridden, but it still retains some relation to the original item that sits on master A.
If I change the color of the cyan item on master A to green, this is what happens:
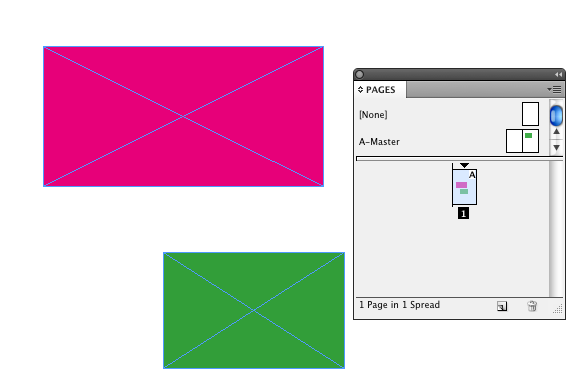
Now, let’s switch on LB FrameReporter and select both frames:
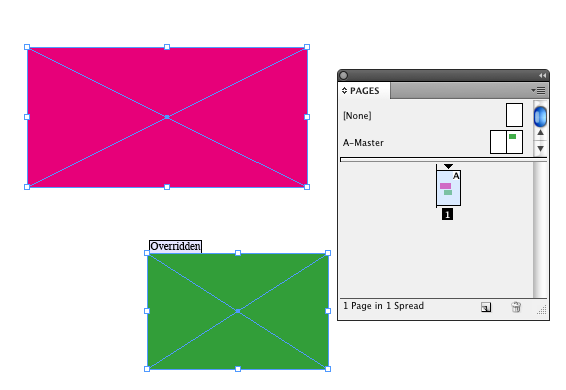
Now it is easy to see that the green item is actually an overridden master page item.
Show Image Effective (Scaled) Resolution
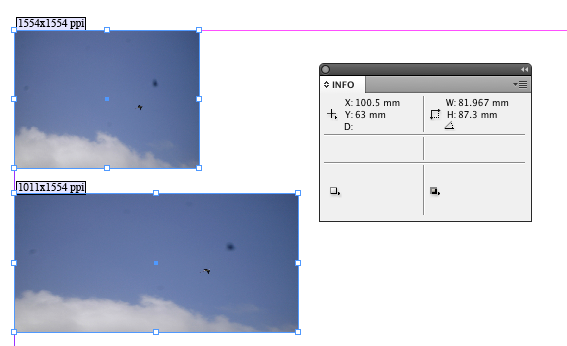
This information is identical to the resolution info that is provided on the Info palette. The main advantage of this feature becomes apparent when you want to check the effective resolution of a whole lot of images.
Instead of selecting them one by one and looking at the info palette, I can simply select all of them, and see their resolutions all at the same time.
In this example screen shot I have selected two placed images. You can see that the Info palette does not show any resolution info – it cannot handle multiple selections.
Squareness
This feature gives you an idea of how far from or how close to square a particular frame is.
A value of 100% is completely square, anything less than 100% is a rectangle – it does not matter whether the rectangle is in portrait or landscape orientation.
Check the following screen shot:
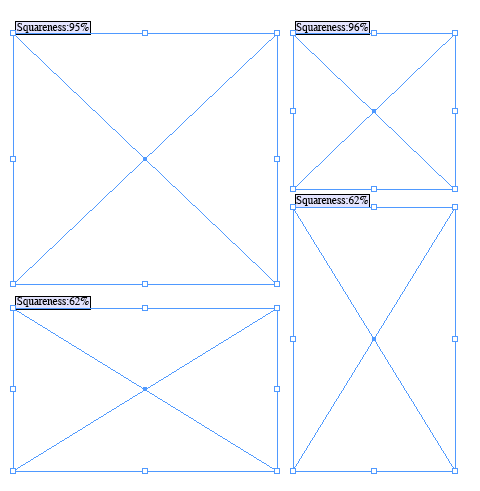 You can see that the two ‘squares’ are not completely square because they have a squareness below 100%.
The two rectangles are both ‘golden ratio’ rectangles – which are considered the most ‘balanced’ and visually pleasing kind of rectangle by many – 62% is the squareness of a ‘golden ratio’ rectangle.
Configuration
All of the options shown above can be activated or deactivated as desired through the API – FrameReporter – Current Document Preferences… menu item.
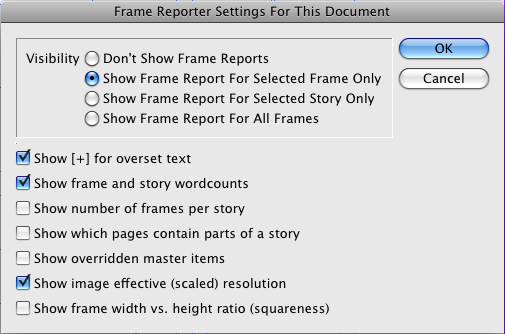
You can select multiple options – all the selected options will be shown concurrently by LB FrameReporter.
Changing these options will only affect the current document – each document carries its own LB FrameReporter settings.
There is also the FrameReporter – Default Preferences… menu item which allows you to set up the default preferences to use when no preferences have been chosen for a particular document.
Conclusion
LB FrameReporter is work in progress.
If you have any ideas for similar information that we should/could be displaying for selected frames, please let us know at [email protected]– if the request can be implemented without too much effort, we’ll try to roll it into a future version of LB FrameReporter.